| RECONDITIONING-C64 | ||||||
| Showing 21 - 40 of 96 pictures [ « Previous | Next » ] | ||||||
 20200414_180559.jpg |
 20200414_180629.jpg The RF shield underneath doesn't look too bad... |
 20200414_180659.jpg |
 20200414_180706.jpg | |||
 20200414_181022.jpg C64 mainboard on the patio, ready for cleanup. |
 20200414_184059.jpg The keyboard taken apart. PC board on the bottom, plastic frame with conductive plugers on top. At the far right is the capslock key, which had to be unsoldered by hand. |
 20200414_184948.jpg Plungers safely stored in a baggie. |
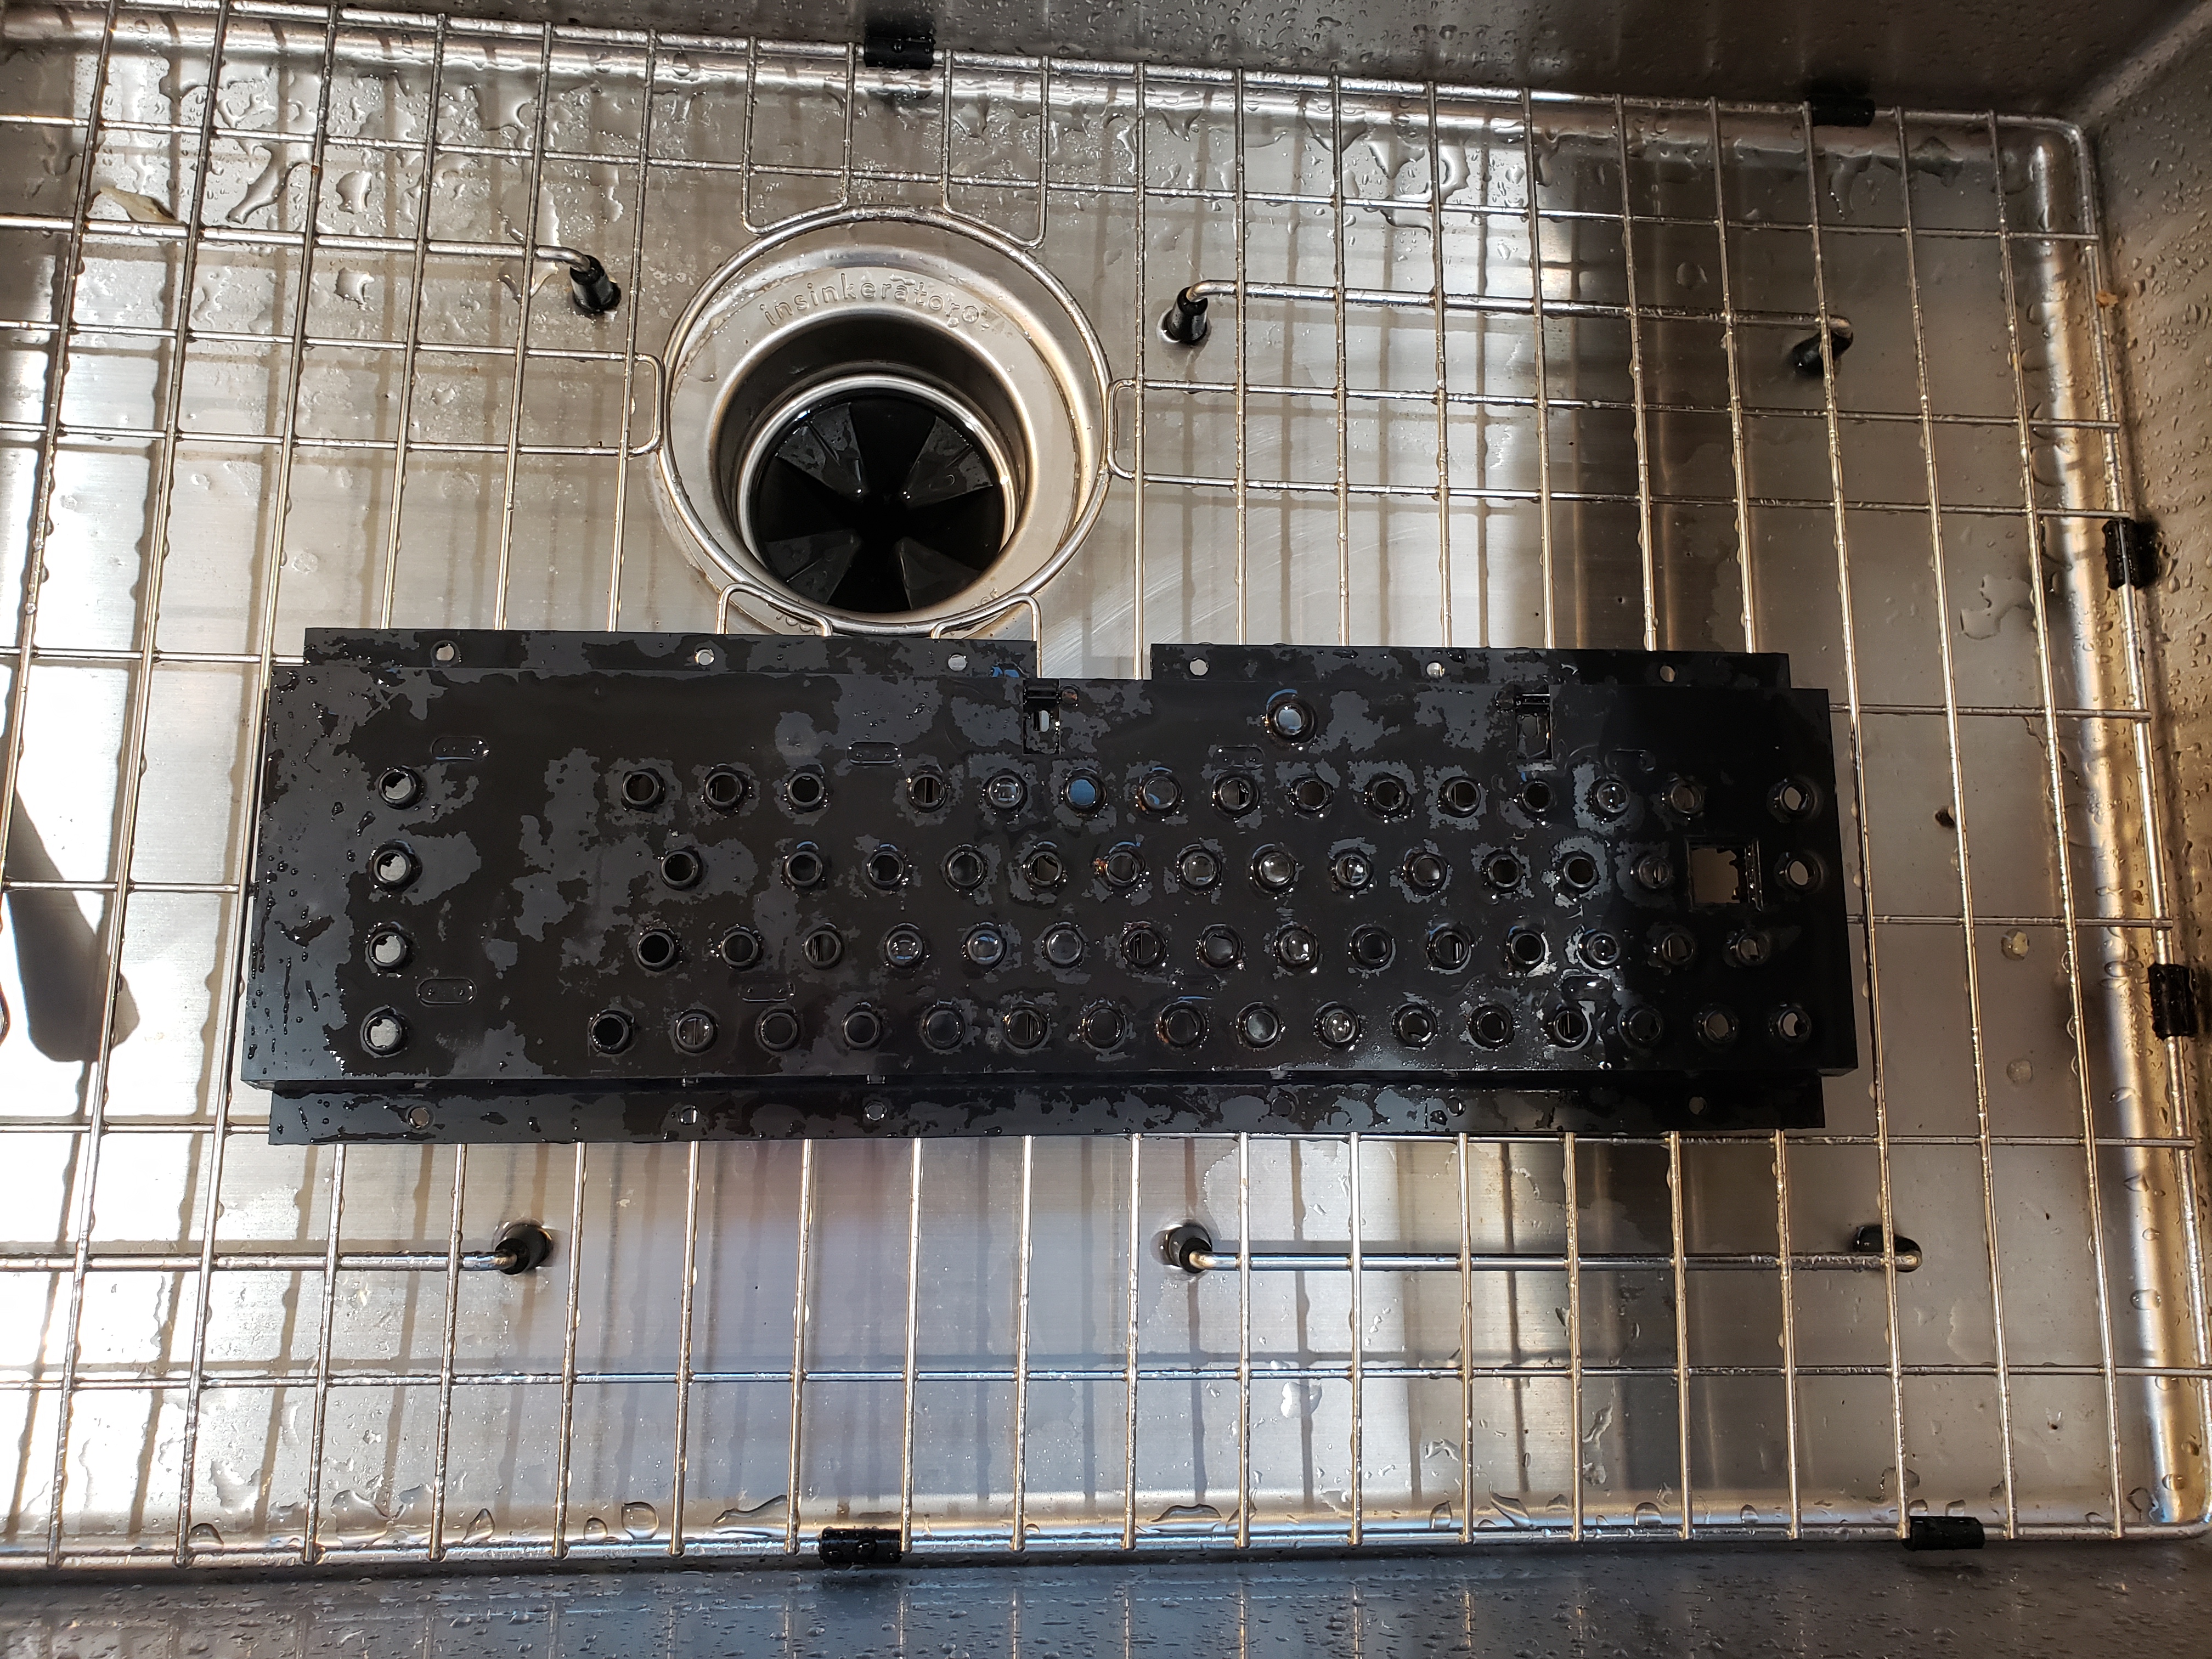 20200414_185155.jpg It's not a new kitchen until you've washed computer parts in the sink. | |||
 20200414_185217.jpg Why not use the dishrack? |
 20200414_190606.jpg Top of the keyboard's circuit board... |
 20200414_190616.jpg ..and the bottom. |
 20200414_192001.jpg Next: The top of the 64's shell. | |||
 20200414_192010.jpg Top and bottom drying in the dishrack. |
 20200414_193344.jpg Gave the upper RF shield a scrub, too. |
 20200414_193400.jpg It's better.. it could really use an afternoon with a polishing wheel, though. |
 20200415_140425.jpg Reassembling the keyboard. | |||
 20200415_140434.jpg |
 20200415_213726.jpg Rinsing off the springs in the bathroom sink. |
 20200415_213735.jpg Iron oxide rom the springs. |
 20200416_134534.jpg Popping the keys back on. Note the spacebar brace at the bottom - that was the most difficult part. | |||
| Showing 21 - 40 of 96 pictures [ « Previous | Next » ] | ||||||